


We have been teaching online for nearly a year now, and still new questions come up as we are trying to transform our classroom-based activities to ensure learning happens virtually too. One of the common themes mentioned by you is that your learners attend online sessions, but do not participate and speak as much as they would in a face-to-face classroom.
There are some basic tasks you can plan in no time and recycle whenever necessary, all flexible, authentic and personalised.
But before we start, I would like to highlight the three main points to consider every time you plan your activities, which is also optimal for how the brain works:
- Keep it clear and simple.
- Make it visual.
- Make the students curious.
When listing the activities below, I have thought about low-level learners (who may also be joining their lessons using mobile phones), however, once slightly amended, they can be used with higher levels too. You may use these tasks with the whole class, as well as with the smaller groups in breakout rooms. Don’t spend longer than 20 minutes on each task.
Number 1: In the queue
Once you know who is in, make a list of names and display it on the screen, asking the learners to copy the list in their notebooks.
Display the topic and ask the learners to ask each other a question on the topic, following the order of the queue. Suggest only one particular tense to be used, e.g. Present Simple.
Differentiation:
- have a slide with some relevant verbs available so you can display them when a learner who needs support,
- have a sentence structure handy to be displayed when necessary, so a learner who struggles can make a simple question,
- ask a learner to use another tense,
- when you say a previously agreed special word e.g. “change”, the learner who is asking a question can pick a random name from the list instead of following it, so other must pay attention as then the queue continues from that name next.
Number 2: Speaking tables
Prepare a table in a shared document and share it with your learners. Ask the learners to write some words/expressions on a given topic (or a mix of topics) in the boxes next to their names, but ask for the information that is about them. You may decide to type up the words for the students who have limited access to the document.
This is an example:
| Fruit | Living room | Supermarket | |
| Name A | an apple | ||
| Name B | |||
| Name C | Monday |
Ask a learner to pick a classmate and ask further questions about the words/phrases in the boxes.
Tip: check if every learner has had a chance to speak.
Differentiation:
- have a sentence structure handy to be displayed when necessary so a learner who struggles can make a simple question,
- ask more questions, e.g. using a different tense.
Number 3: Describe a picture
Display a picture in a Word document and ask the learners to prepare a few sentences to describe it. Suggest only one particular tense to be used, e.g. Present Simple.
Ask each learner to share one sentence, but he same sentences cannot be repeated. You may want to write the sentences down highlighting the targeted parts, if relevant.
Differentiation:
- have a slide with some relevant verbs available so you can display them when a learner who needs support,
- have a sentence structure handy to be displayed when necessary so a learner who struggles can make a simple question, or refer to previous correct sentences.
- ask the learners to type up their sentences, if time, or if you want the learners to practise writing.
Number 4: Picture dictation
Send a different picture to each learner just before the class starts. Keep a record of who has received which picture as it will be useful to display them at the end of each round. Ask one learner to describe the picture and others have to draw it in their notebooks. Once the pictures are ready, each learner shows their work to the camera and the student who has described the picture gives some feedback (Tip: talk about general rules on giving feedback first).
Differentiation:
- put the learners in groups so more learners receive the same picture. They can plan their dictations in breakout rooms beforehand,
- you can add on to the task and let the learners ask additional questions about the pictures or ask for clarification, and the owner has to answer them.
Number 5: How much do you really remember?
In a lesson you teach before the lesson when the task is introduced highlight and repeat a few times that you would really like the learners to remember as much as possible of what is being done. They can make notes if they want to.
In the following lesson, ask the learners to talk with a partner or in a group in the breakout rooms, and say as much as they remember about what they did and what happened in the previous lesson.
Differentiation:
- have a slide with some relevant verbs available so you can display them when a learner who needs support,
- have a sentence structure handy to be displayed when necessary so a learner who struggles can make a simple question,
- ask peers to agree, disagree, ask for clarification and correct.
Number 6: I am all ears
Display some sentences with gaps on the screen and ask the learners to copy them into their notebooks. Ensure you use numbering, which makes signposting easier.
Once they are ready start nominating learners using their names and asking them one question, the answer to which will be used by the group to complete relevant gaps. They will also need to write the names of classmates so you may want to check if they remember their peers’ names first. For lower-lever groups, you may want to add the names so there is only one gap in each sentence.
For example:
- ___Sandy____ goes shopping ________.
Teacher: Sandy, when do you go shopping?
- _________ drinks ______ in the morning.
Teacher: Ahmed, what do you drink in the morning?
Number 7: Chameleon
Prepare a table with some words/expressions related to the topic you teach.
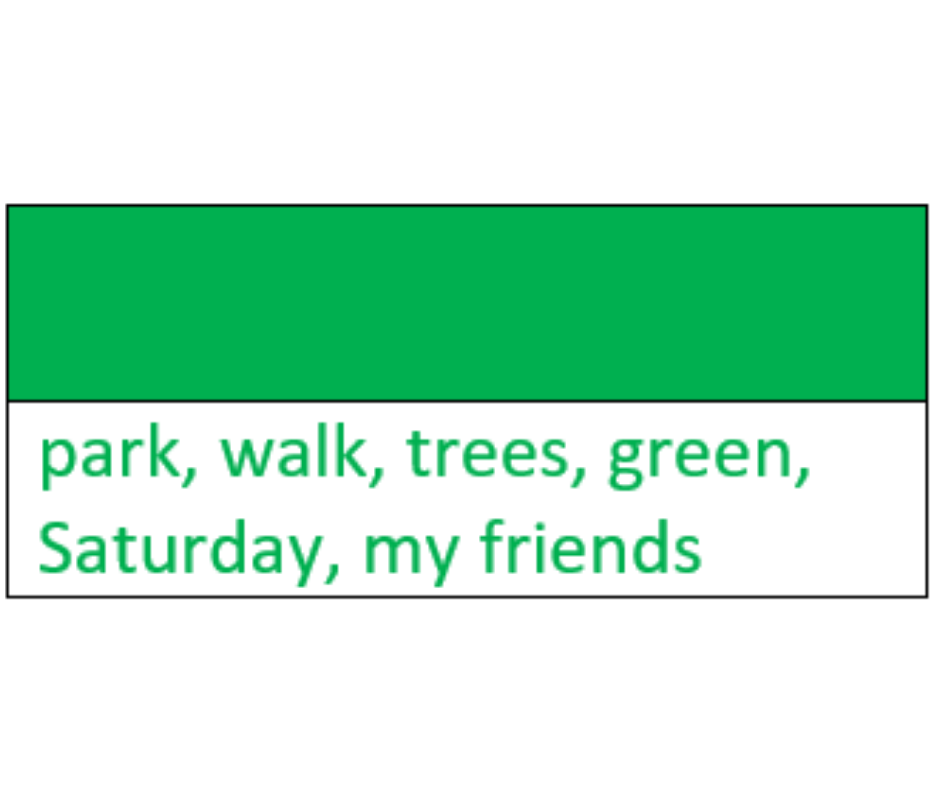
Complete each box with a different colour font and make the background the same colour, so the text is not seen (Tip: In a Word document, click on HOME: Font Colour, then Shading)
Ask one learner to pick one colour and then undo the background to make it white again, so the text is seen.
This is an example of when the text is not visible and then on display:
Create your own instructions as needed, e.g. ask the learners to make sentences, ask questions, negatives, etc. Use ideas for differentiation as above.
And to wrap things up…
Number 8: Good old error correction
While your learners get busy speaking, pick and anonymise some errors and type them up. When the task is finished, display the sentences/phrases and ask the learners to pick one at a time, discuss the mistakes, and ways to correct them. Interrupt only when necessary. Let them type. This task will work well in breakout rooms, where you may divide the sentences and then check all the answers in the plenary.
You may decide to correct the mistakes for the students who have limited access to the document.
Number 9: A bit of constructive feedback to finish the lesson with a dopamine hit
Tip: Talk about general rules on giving feedback first.
Tip 2: When you offer some feedback, ensure it is specific, not just “Well done guys!” or “Good job!”.
Ask each learner to give a classmate some positive feedback related to their classroom performance in the lesson.
Differentiation:
- have a slide with some relevant phrases available so you can display them when a learner who needs support,
- ask the stronger learners to give more details or examples.
Thanks and happy teaching!
J


Add Comment